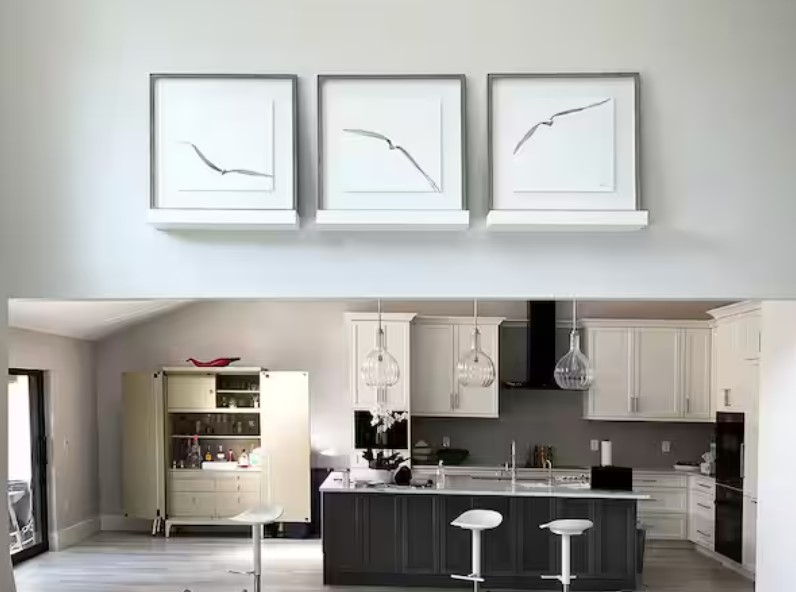
DIY Floating Shelves: Stylish Storage Solutions for Your Home Floating shelves are a popular home decor trend that adds both style and functionality to any space. These sleek, wall-mounted shelves create a clean and modern look, while providing valuable storage and display options.
Whether you’re looking to enhance your living room, kitchen, or bathroom, DIY floating shelves offer a customizable and budget-friendly solution.
In this Havenblueprint, we’ll explore the benefits of floating shelves, step-by-step instructions for building them, and a comparison of top products on the market.
Benefits of DIY Floating Shelves
Space-Saving Design
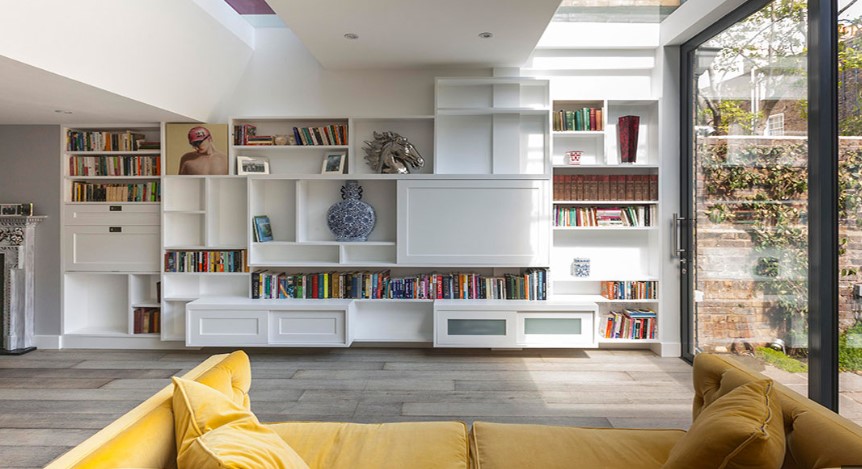
Floating shelves are an excellent way to maximize space in any room. Unlike traditional shelves that require bulky brackets or supports, floating shelves appear to “float” on the wall, giving a minimalist and uncluttered look. This design not only saves space but also makes the room feel more open and airy.
In addition to floating shelves, multi-functional furniture is another great space-saving solution. Pieces like ottomans with hidden storage or foldable desks allow you to use the same space for multiple purposes.
This flexibility is particularly valuable in small apartments or homes where every square foot counts. Vertical storage solutions, such as tall cabinets or wall-mounted organizers, are also effective in saving space.
By utilizing the height of your walls, you can keep the floor area free, making the room feel larger. These designs help to declutter your space while keeping essential items easily accessible.
Expand on Details:
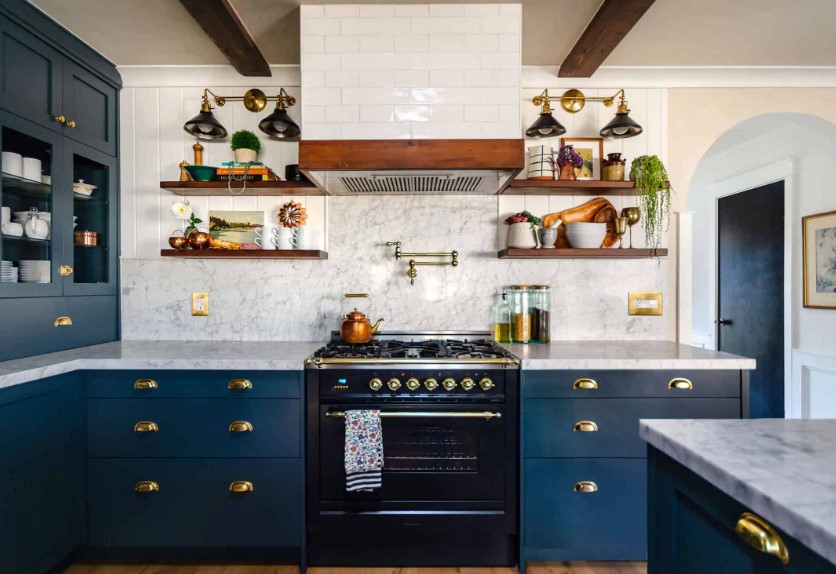
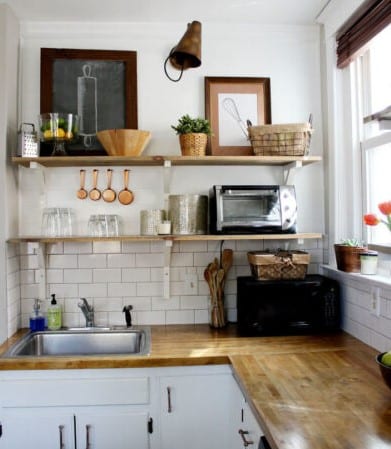
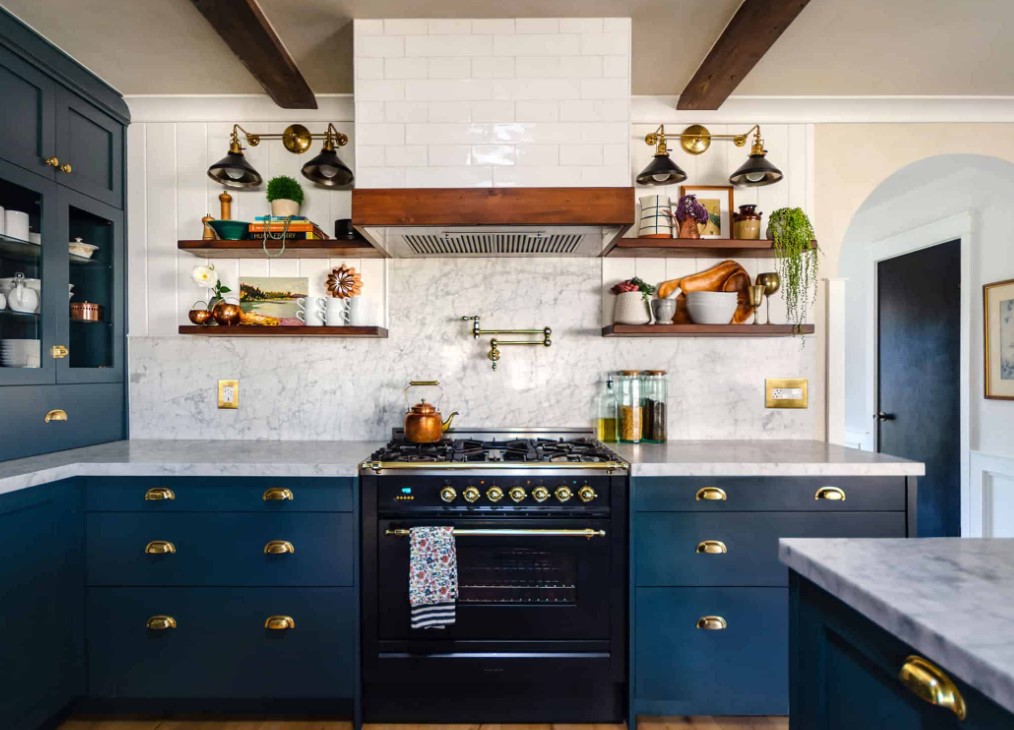
- Visual Appeal: The hidden mounting hardware of floating shelves creates a sleek and streamlined appearance, making them perfect for modern and contemporary interiors. They can be used to display decorative items, books, or even kitchen essentials in a stylish way.
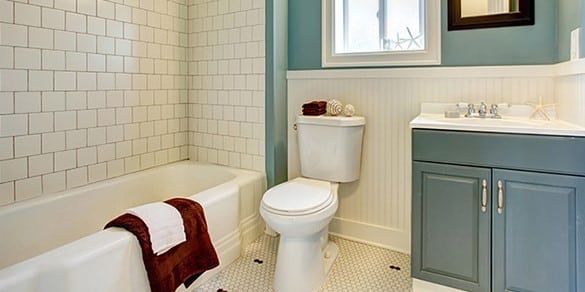
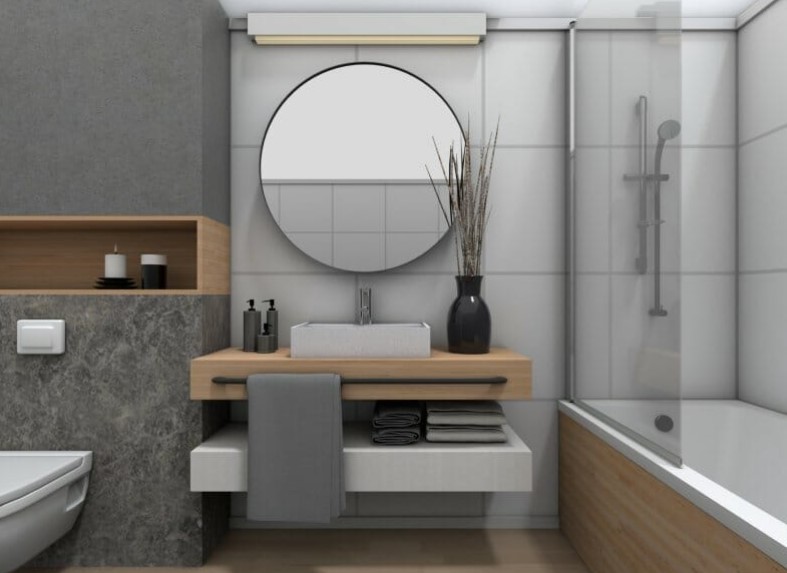
- Versatility: Floating shelves can be installed in virtually any room, from the living room to the bathroom. They work well in small spaces where traditional furniture might be too bulky, and they can be customized to fit your specific needs.
Cost-Effective Storage Solution
Building your own floating shelves is a cost-effective way to add storage and display space to your home.
By using readily available materials and following simple construction techniques, you can create custom shelves that rival high-end designs at a fraction of the cost.
DIY floating shelves are not only a cost-effective storage solution but also a versatile design element that can enhance any room in your home.
By sourcing materials such as plywood, pine boards, or reclaimed wood, you can craft sturdy, stylish shelves without the high price tag associated with store-bought options.
Expand on Details:
- Material Selection: You can choose from a variety of materials for your DIY floating shelves, including wood, MDF, or even reclaimed wood for a rustic look. Each material offers different benefits in terms of durability, appearance, and cost.
- Customization: DIY floating shelves can be tailored to your exact specifications. Whether you want to match the color of your existing furniture or create a unique design with a custom stain or paint finish, the possibilities are endless.
You can also read : DIY Kitchen Renovation: Transform Your Space on a Budget
How to Build DIY Floating Shelves
Step-by-Step Guide
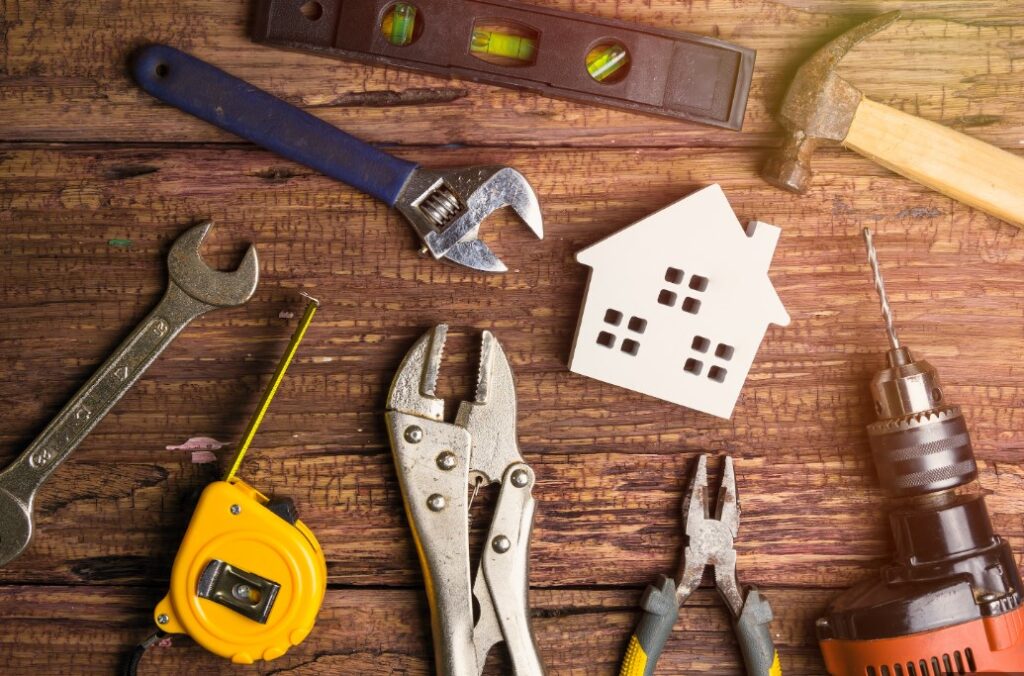
Before you start, gather the necessary tools and materials. You’ll need a drill, level, saw, screws, wall anchors, and your chosen shelf material.
Step 1: Measure and Cut the Shelves Start by measuring the space where you want to install the shelves. Mark the dimensions on your shelf material and use a saw to cut it to size. Sand the edges for a smooth finish.
Expand on Details:
- Choosing the Right Material: Selecting the right material for your floating shelves is crucial. Solid wood is a popular choice for its durability and natural beauty, while MDF offers a smooth surface that’s easy to paint. If you’re going for a rustic look, reclaimed wood can add character and warmth to your shelves.
- Accurate Measurements: Precision is key when cutting your shelves to ensure they fit perfectly in your desired space. Use a tape measure to get accurate dimensions, and double-check your measurements before cutting to avoid mistakes.
Step 2: Install the Mounting Brackets Use a level to mark where the brackets will be placed on the wall. Drill pilot holes and install the brackets using screws and wall anchors. Make sure the brackets are level and securely fastened.
Expand on Details:
- Choosing Brackets: The type of brackets you choose will depend on the weight of the items you plan to store and the material of your shelves. Heavy-duty metal brackets are ideal for supporting heavier loads, while hidden brackets offer a cleaner, more modern look.
- Proper Anchoring: If you’re not drilling into studs, you’ll need to use wall anchors to ensure your shelves are securely fastened. This is particularly important if you plan to store heavier items on your shelves.
Step 3: Attach the Shelves Slide the shelves onto the brackets and secure them with screws if necessary. Double-check that everything is level and sturdy.
Expand on Details:
- Securing the Shelves: Once the shelves are in place, use screws or fasteners to secure them to the brackets. This will prevent the shelves from shifting over time and ensure they remain stable and secure.
- Leveling: After attaching the shelves, use a level to ensure they are perfectly horizontal. Even a slight tilt can affect the overall appearance and functionality of the shelves.
Step 4: Finish and Style Once the shelves are installed, you can finish them with paint or stain to match your decor. Style your new floating shelves with books, plants, or decorative items to complete the look.
Expand on Details:
- Finishing Touches: Apply a coat of paint or stain to match your room’s decor. For a modern look, consider a glossy white or matte black finish. For a more rustic or traditional style, a wood stain can highlight the natural grain and color of the wood.
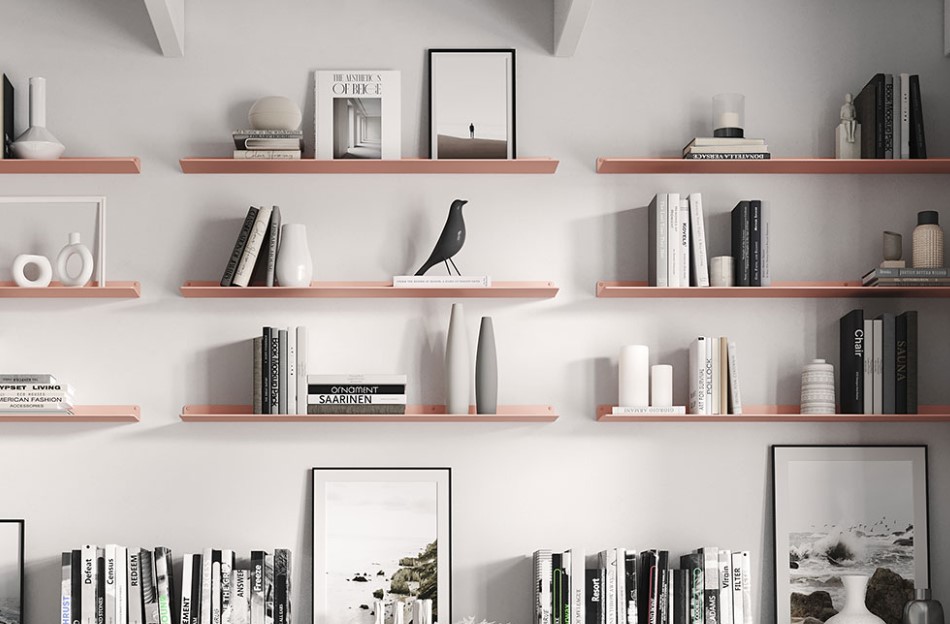
- Styling Tips: When styling your floating shelves, balance is key. Mix decorative items like vases or picture frames with functional items like books or storage baskets. Group items in odd numbers and vary the heights and sizes to create visual interest.
Tips for Successful Installation
- Use a Stud Finder: When installing floating shelves, it’s important to anchor them to wall studs for maximum stability, especially if the shelves will hold heavy items.
- Check the Level: Ensure your shelves are perfectly level before securing them to the wall. This will prevent items from sliding off and give your installation a professional look.
You can also read : DIY Bathroom Renovation: Upgrade Your Space on a Budget
Real-World Examples of Floating Shelves
1. Product: Shelfology Floating Shelves
Shelfology Floating Shelves offer a stylish and functional solution for maximizing vertical space in your home.
Designed with sleek lines and a minimalist aesthetic, these shelves seamlessly blend into any decor, making them perfect for modern interiors.
Crafted from high-quality materials, Shelfology shelves provide robust support for books, plants, and decorative items, allowing you to showcase your personal style.
Installation is a breeze, with easy-to-follow instructions and hidden mounting hardware that ensures a clean look without visible brackets.
Whether you’re looking to declutter your living room, add storage to your kitchen, or create a gallery wall, Shelfology Floating Shelves are an excellent choice for enhancing your space while adding an elegant touch.
- Where to Buy: Shelfology
- Price: $150 per shelf
- Pros: High-quality materials, customizable sizes, and finishes
- Cons: Higher price point
- Use Case: Perfect for high-end, modern interiors. These shelves offer a sleek, minimalist look with durable construction, ideal for showcasing decorative items or books.
Expand on Details:
- Materials and Finishes: Shelfology offers a range of materials including wood, metal, and composite options, each with various finishes to match different interior styles. Whether you’re looking for a natural wood finish or a bold, painted look, Shelfology provides high-quality options.
- Customization: These shelves can be customized in terms of length, depth, and color, allowing you to create a tailored storage solution that fits perfectly in your space.
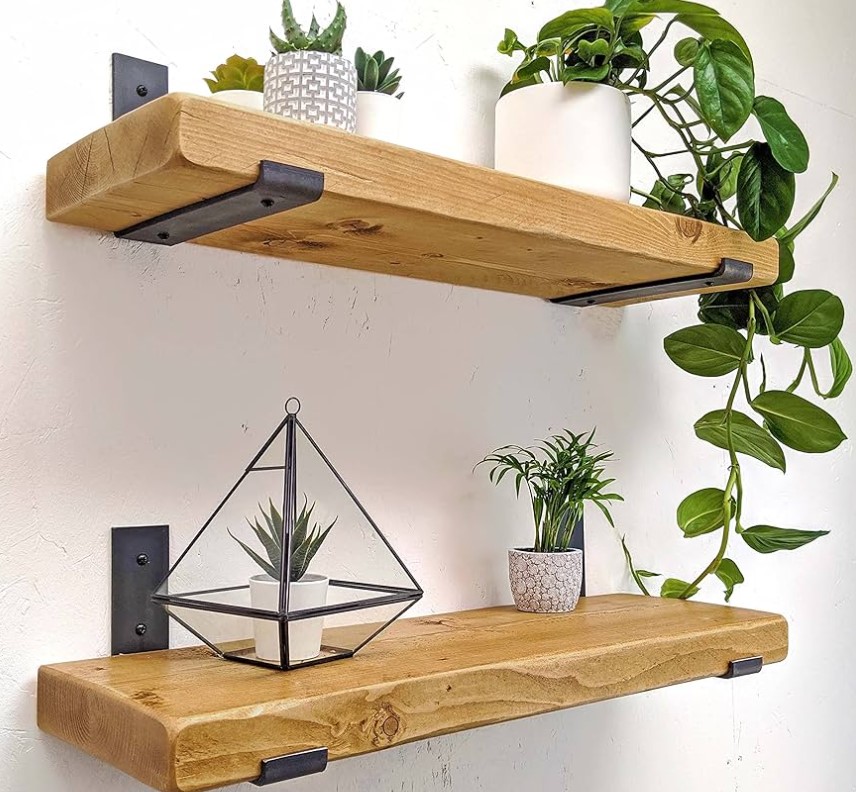
2. Product: Ben Simpson Floating Shelves
- Where to Buy: Etsy
- Price: $70 per shelf
- Pros: Handmade, unique designs, customizable
- Cons: Limited availability due to handmade nature
- Use Case: Ideal for adding a rustic or industrial touch to your decor. These shelves are handcrafted and can be customized with different finishes and sizes to suit your space.
Expand on Details:
- Handcrafted Quality: Each Ben Simpson floating shelf is handmade, offering a unique piece with individual character. The craftsmanship is evident in the attention to detail and quality of the materials used.
- Custom Finishes: Ben Simpson offers a variety of wood types and finishes, from light oak to deep walnut, allowing you to choose a look that complements your interior.
3. Product: Federal Brace Floating Shelf
- Where to Buy: Federal Brace
- Price: $120 per shelf
- Pros: Heavy-duty construction, suitable for heavier items
- Cons: Installation can be more complex due to the weight
- Use Case: Best for kitchens or offices where shelves will hold heavier items like dishes or books. The strong metal brackets provide exceptional support and durability.
Expand on Details:
- Heavy-Duty Support: Federal Brace floating shelves are designed to support heavier items, making them ideal for kitchens, offices, or commercial spaces where durability is a priority.
- Industrial Aesthetic: These shelves feature a robust design with exposed brackets, perfect for industrial or modern interiors. The metal components add a touch of ruggedness while ensuring stability.
4. Product: Custom Wood Floating Shelves
- Where to Buy: CustomWoodShelves
- Price: $100 per shelf
- Pros: Custom sizes and finishes, high-quality craftsmanship
- Cons: Longer lead time for custom orders
- Use Case: These shelves are perfect for creating a personalized look in your home. Whether you need a specific size or a unique finish, these custom shelves offer flexibility and quality.
Expand on Details:
- Tailored to Your Needs: Custom Wood Floating Shelves are made to order, allowing you to specify the exact dimensions, wood type, and finish you desire. This level of customization ensures that your shelves fit perfectly in your space and match your existing decor.
- Artisanal Craftsmanship: Each shelf is handcrafted by skilled artisans, ensuring a high level of detail and quality. These shelves are built to last, offering both aesthetic appeal and durability.
5. Product: Red Oak Floating Shelves
- Where to Buy: Home Depot
- Price: $50 per shelf
- Pros: Affordable, classic wood grain, easy to install
- Cons: Limited customization options
- Use Case: Ideal for traditional or transitional decor styles. The natural red oak finish adds warmth to any room, and the shelves are easy to install with basic tools.
Expand on Details:
- Natural Beauty: Red oak is known for its attractive grain and warm color, making it a popular choice for traditional and transitional interiors. These shelves bring a touch of natural elegance to any room.
- Easy Installation: These shelves come with all the necessary hardware for easy installation, making them a great option for DIY enthusiasts. The straightforward design allows for quick and hassle-free mounting.
You can also read : DIY Kitchen Remodel: Transform Your Space on a Budget
Detailed Product Comparisons
Shelfology Floating Shelves vs. Ben Simpson Floating Shelves
When choosing between Shelfology and Ben Simpson floating shelves, consider factors like design, customization, and price.
Shelfology Floating Shelves
- Design: Modern and sleek, with hidden brackets for a floating effect.
- Customization: Available in a wide range of sizes and finishes.
- Price: Higher price point, but offers premium materials and craftsmanship.
Ben Simpson Floating Shelves
- Design: Rustic and industrial, often featuring natural wood and metal accents.
- Customization: Handmade with unique designs, offering a personal touch.
- Price: More affordable, but availability can be limited due to the handcrafted nature.
Expand on Details:
- Design Preferences: If you prefer a clean, modern aesthetic, Shelfology’s offerings with hidden brackets might be more appealing. On the other hand, if you’re looking for something with character and a handcrafted feel, Ben Simpson’s shelves provide that rustic charm.
- Material and Durability: Both brands offer high-quality materials, but the choice between the two may come down to whether you value sleek design over rustic, handmade craftsmanship.
You can also read : DIY Home Improvement Projects: Upgrades for Every Room
Where and How to Buy DIY Floating Shelf Materials
When purchasing materials for your DIY floating shelves, consider both local hardware stores and online retailers. Websites like Home Depot, Lowe’s, and Amazon offer a variety of options for different budgets and preferences.
Local hardware stores provide the advantage of allowing you to see and feel the materials before buying, which can be crucial for ensuring quality and suitability.
You can also ask store staff for advice on the best materials for your specific project needs, such as selecting the right type of wood or brackets.
Additionally, purchasing locally helps support small businesses in your community, contributing to the local economy.
Expand on Details:
- Local Hardware Stores: Visiting a local hardware store allows you to see and feel the materials before buying. You can also get advice from store associates who can help you select the best materials for your project.
- Online Shopping: Shopping online provides convenience and access to a wider range of products. Look for reputable sellers and check customer reviews to ensure you’re getting quality materials.
Buying Tips:
- Compare Prices: Check prices across different retailers to find the best deals.
- Read Reviews: Customer reviews can provide insights into the quality and usability of products.
- Check Return Policies: Ensure that the retailer has a favorable return policy in case the materials don’t meet your expectations.
Common Challenges in DIY Floating Shelf Projects
Wall Studs and Mounting
One of the biggest challenges in installing floating shelves is ensuring they are securely mounted to the wall. This often involves finding wall studs to anchor the brackets, which can be tricky in some cases.
Expand on Details:
- Stud Finder Use: A stud finder is an essential tool for locating wall studs. Make sure to mark the studs clearly before drilling.
- Alternative Mounting Solutions: If you can’t find a stud where you want to place your shelf, use heavy-duty wall anchors designed for drywall.
Installation Tips:
- Weight Consideration: Be mindful of the weight capacity of your wall anchors and brackets. Overloading your shelves can lead to damage or even cause the shelves to fall.
- Proper Spacing: Ensure your brackets are spaced evenly and aligned with the studs to distribute weight evenly across the shelf.
Leveling and Alignment
Ensuring that your floating shelves are level and properly aligned is crucial for both functionality and aesthetics. Crooked shelves not only look unprofessional but can also cause items to slide off.
Expand on Details:
- Laser Level: A laser level can be a helpful tool for ensuring your shelves are perfectly straight. It projects a straight line across the wall, making it easier to align the brackets.
- Double-Check Measurements: Measure twice, drill once. This old adage is particularly important when installing floating shelves. Double-check your measurements to ensure everything is aligned properly.
FAQs
Q1: What materials are best for DIY floating shelves?
A: Wood is the most popular material for DIY floating shelves due to its durability and ease of customization. MDF is another budget-friendly option, while metal shelves offer a more industrial look.
Q2: Can floating shelves hold heavy items?
A: Yes, floating shelves can hold heavy items if properly installed. Make sure to anchor the shelves to wall studs and use heavy-duty brackets designed for the weight you plan to place on them.
Q3: Where can I buy floating shelf materials?
A: You can buy materials for floating shelves at major retailers like Home Depot, Lowe’s, and Amazon. Online specialty stores like Shelfology and Etsy also offer high-quality, customizable options.
This comprehensive guide provides all the information you need to build and install DIY floating shelves, offering detailed product comparisons, tips for successful installation, and solutions to common challenges.
By following these steps, you can create stylish and functional shelves that enhance any room in your home.